What are we trying to do?
- Let your website work offline
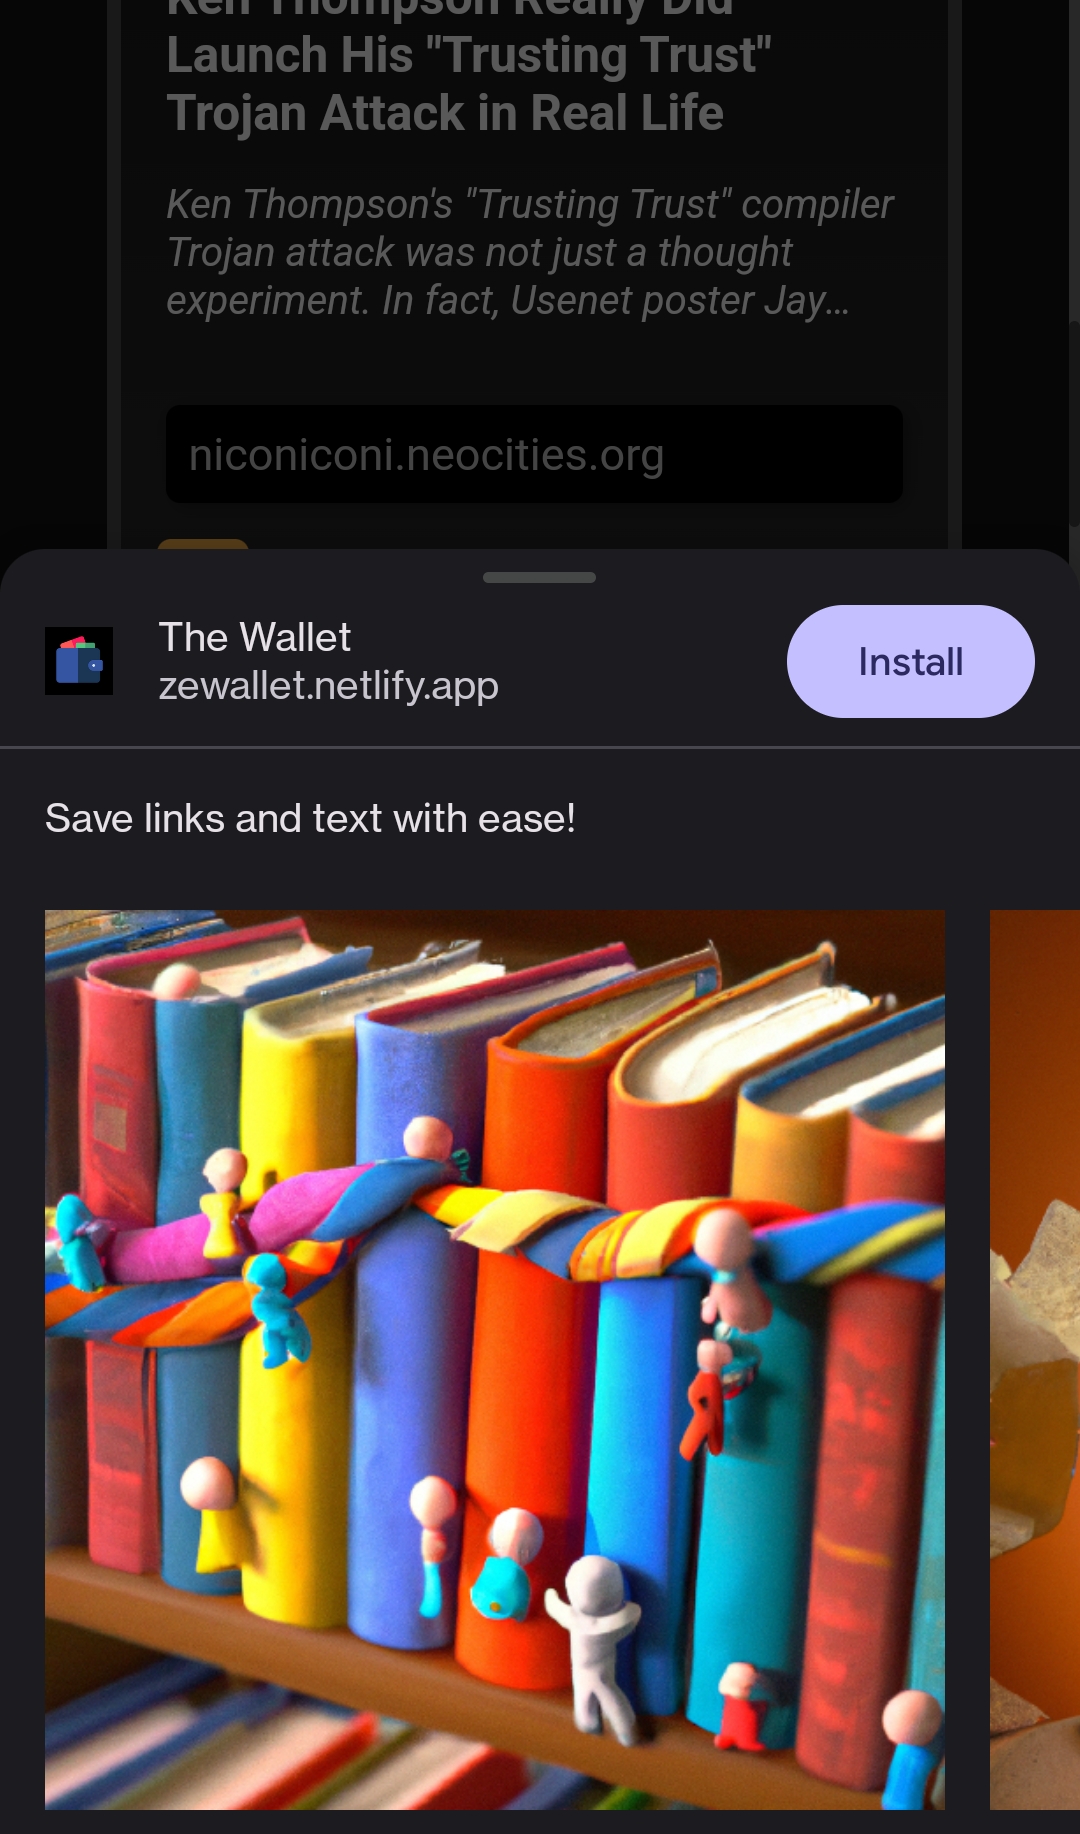
- Make your website installable
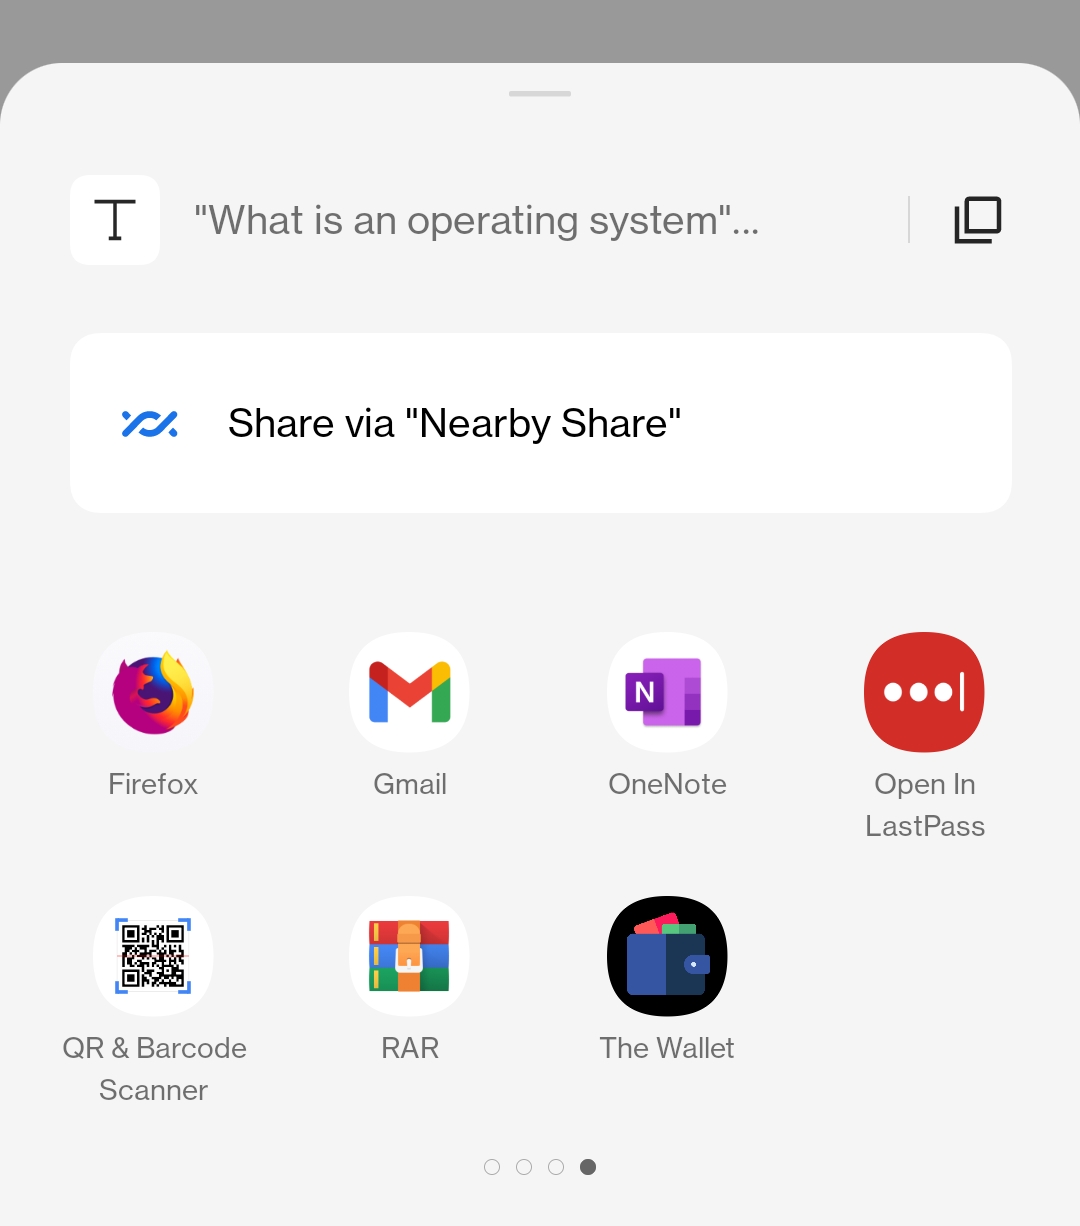
- Enable users to share data to your app using the Android share action
Your website, installed like an app. Accessible offline.
Your website listed in the Android share option along with other apps
Advantages:
- Works offline
- Fast due to improved caching
- No need to copy-paste stuff across apps while on the mobile app
The 3 easy steps
Add a manifest
The manifest is a file that defines how the your website should be treated as an installed application, with details like app name, icons, theme color etc.
Generate the manifest file
Create a file called manifest.json in the root folder. You can also use the .webmanifest extension, like app.webmanifest.
The content has details like this:
|
|
Add manifest file to your website
Add this to HTML pages in your website’s <head> section:
|
|
You can now test it in devTools!
Add Service Workers
Unlike websites, apps are expected to work well even without an internet connection. Service workers are the magic that make this possible - they sit between your app and the website, caching and serving files from memory even when there’s no internet access, making it feel like an app.
The Service Worker is just a js file that specifies how requests from the app should be handled.
We can use Workbox - a library that takes a general configuration and generates a Service Worker for us.
Add the Service Worker configuration
Add the configuration for the service worker called workbox-config.js in the root folder:
|
|
Auto-generate the Service Worker JS based on the configuration
The Service Worker needs to be generated everytime there are changes to the website. This can be automated by adding your entries to the build tool’s config. The widely used build tools are webpack and rollup.
- Install the rollup plugin:
|
|
- Add this to your
rollup.config.jsfile:
|
|
That’s it, you have it all setup. Everytime you build your website, the Service Worker JS will be generated automatically.
The steps are similar for webpack - install the webpack plugin and add entries to webpack.config.js.
If you aren’t using a bundler and want to roll it yourself, you can use the Workbox CLI to generate the Service Worker - the steps are similar.
The 2 types of Service Workers offered by Webpack are
generateSWandInjectManifest.generateSWis powerful with good default features,injectManifestis more customizable (and needs us to do a lot more work). If you want to go down that route, take a look at Google’s which plugin to use section
Add the Service Worker JS to your website
Add this to your main JS file. It’s usually index.js or main.js.
|
|
🏆 We can now “install” our website as an app
Open your website in the browser - you should see the install option.
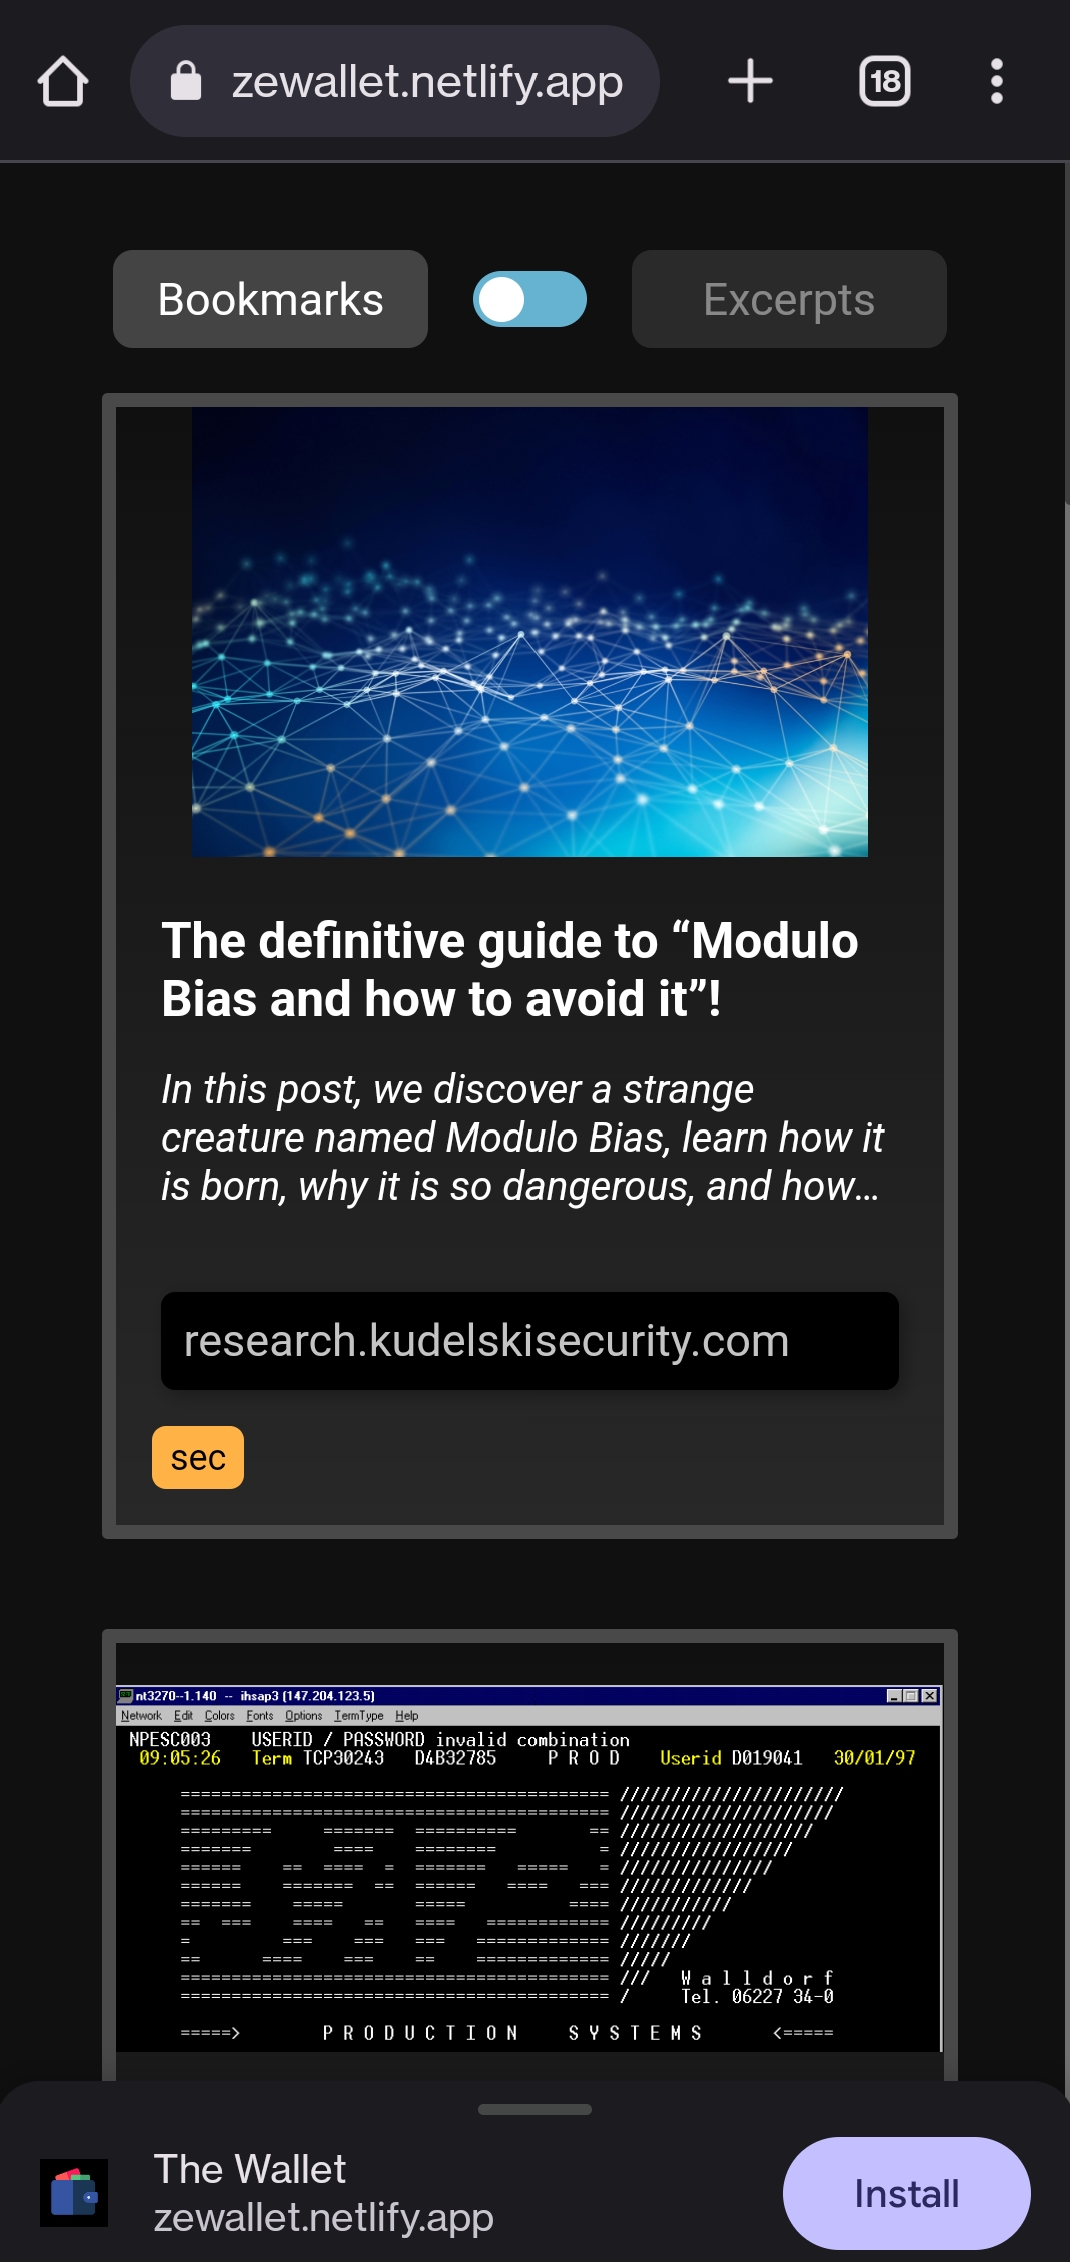
The screenshots specified in
manifest.jsonwill be shown here
Add the native share action to your app
Make your app receive shared data
Android can share text content (like selected text, links) as well as files. The changes needed for each type are explained in the official docs.
Add the share_target part to your manifest.json file to make your app receive shared data:
|
|
🏆 App should now be listed as share target Your website listed in the Android share option along with other apps
Handle the shared data in your app
The data from the share action is sent to the path specified in the action field of the share_target object, usually as query params.
For example, sharing the URL hello! would result in a GET request to https://dvsj.in/share-action?text=hello!.
We can take the values from the query params and use them in our app.
|
|
Different apps send the same data differently. Some send data in the
titlequery param, some in thetextparam.
Test your share action with different apps and handle them accordingly!
Some data from tested applications, assuming the website is https://dvsj.in and text is xyz:
| App | Content shared | text value |
title value |
|---|---|---|---|
| Firefox browser | Link | https://dvsj.in |
|
| Firefox browser | Text | xyz |
Share via |
| Chrome browser | Link | https://dvsj.in |
<title> |
| Chrome browser | Text | "xyz" https://dvsj.in |
<title> |
| Materialistic, a HN client | Link | <title> - https://dvsj.in |
<title> |
| Materialistic, a HN client | Text | xyz |
References:
https://microsoft.github.io/win-student-devs/#/30DaysOfPWA/kickoff
https://web.dev/learn/pwa/service-workers/
https://web.dev/service-worker-mindset/
https://serviceworkies.com/
https://chodounsky.com/2019/03/24/progressive-web-application-as-a-share-option-in-android/
https://web.dev/web-share-target/
https://web.dev/app-shortcuts/
https://web.dev/add-manifest/
https://web.dev/learn/pwa/web-app-manifest/